The guide is currently being updated, so before you start the integration, please contact eduard.malkhasyan@appodeal.com.
Prepare Creatives For The Soft Launch
Having strong creatives for your soft launch ads is essential for generating higher install rates. We recommend preparing two types of video creatives featuring the gameplay without misleading elements (i.e. no clickbait), following the requirements below.
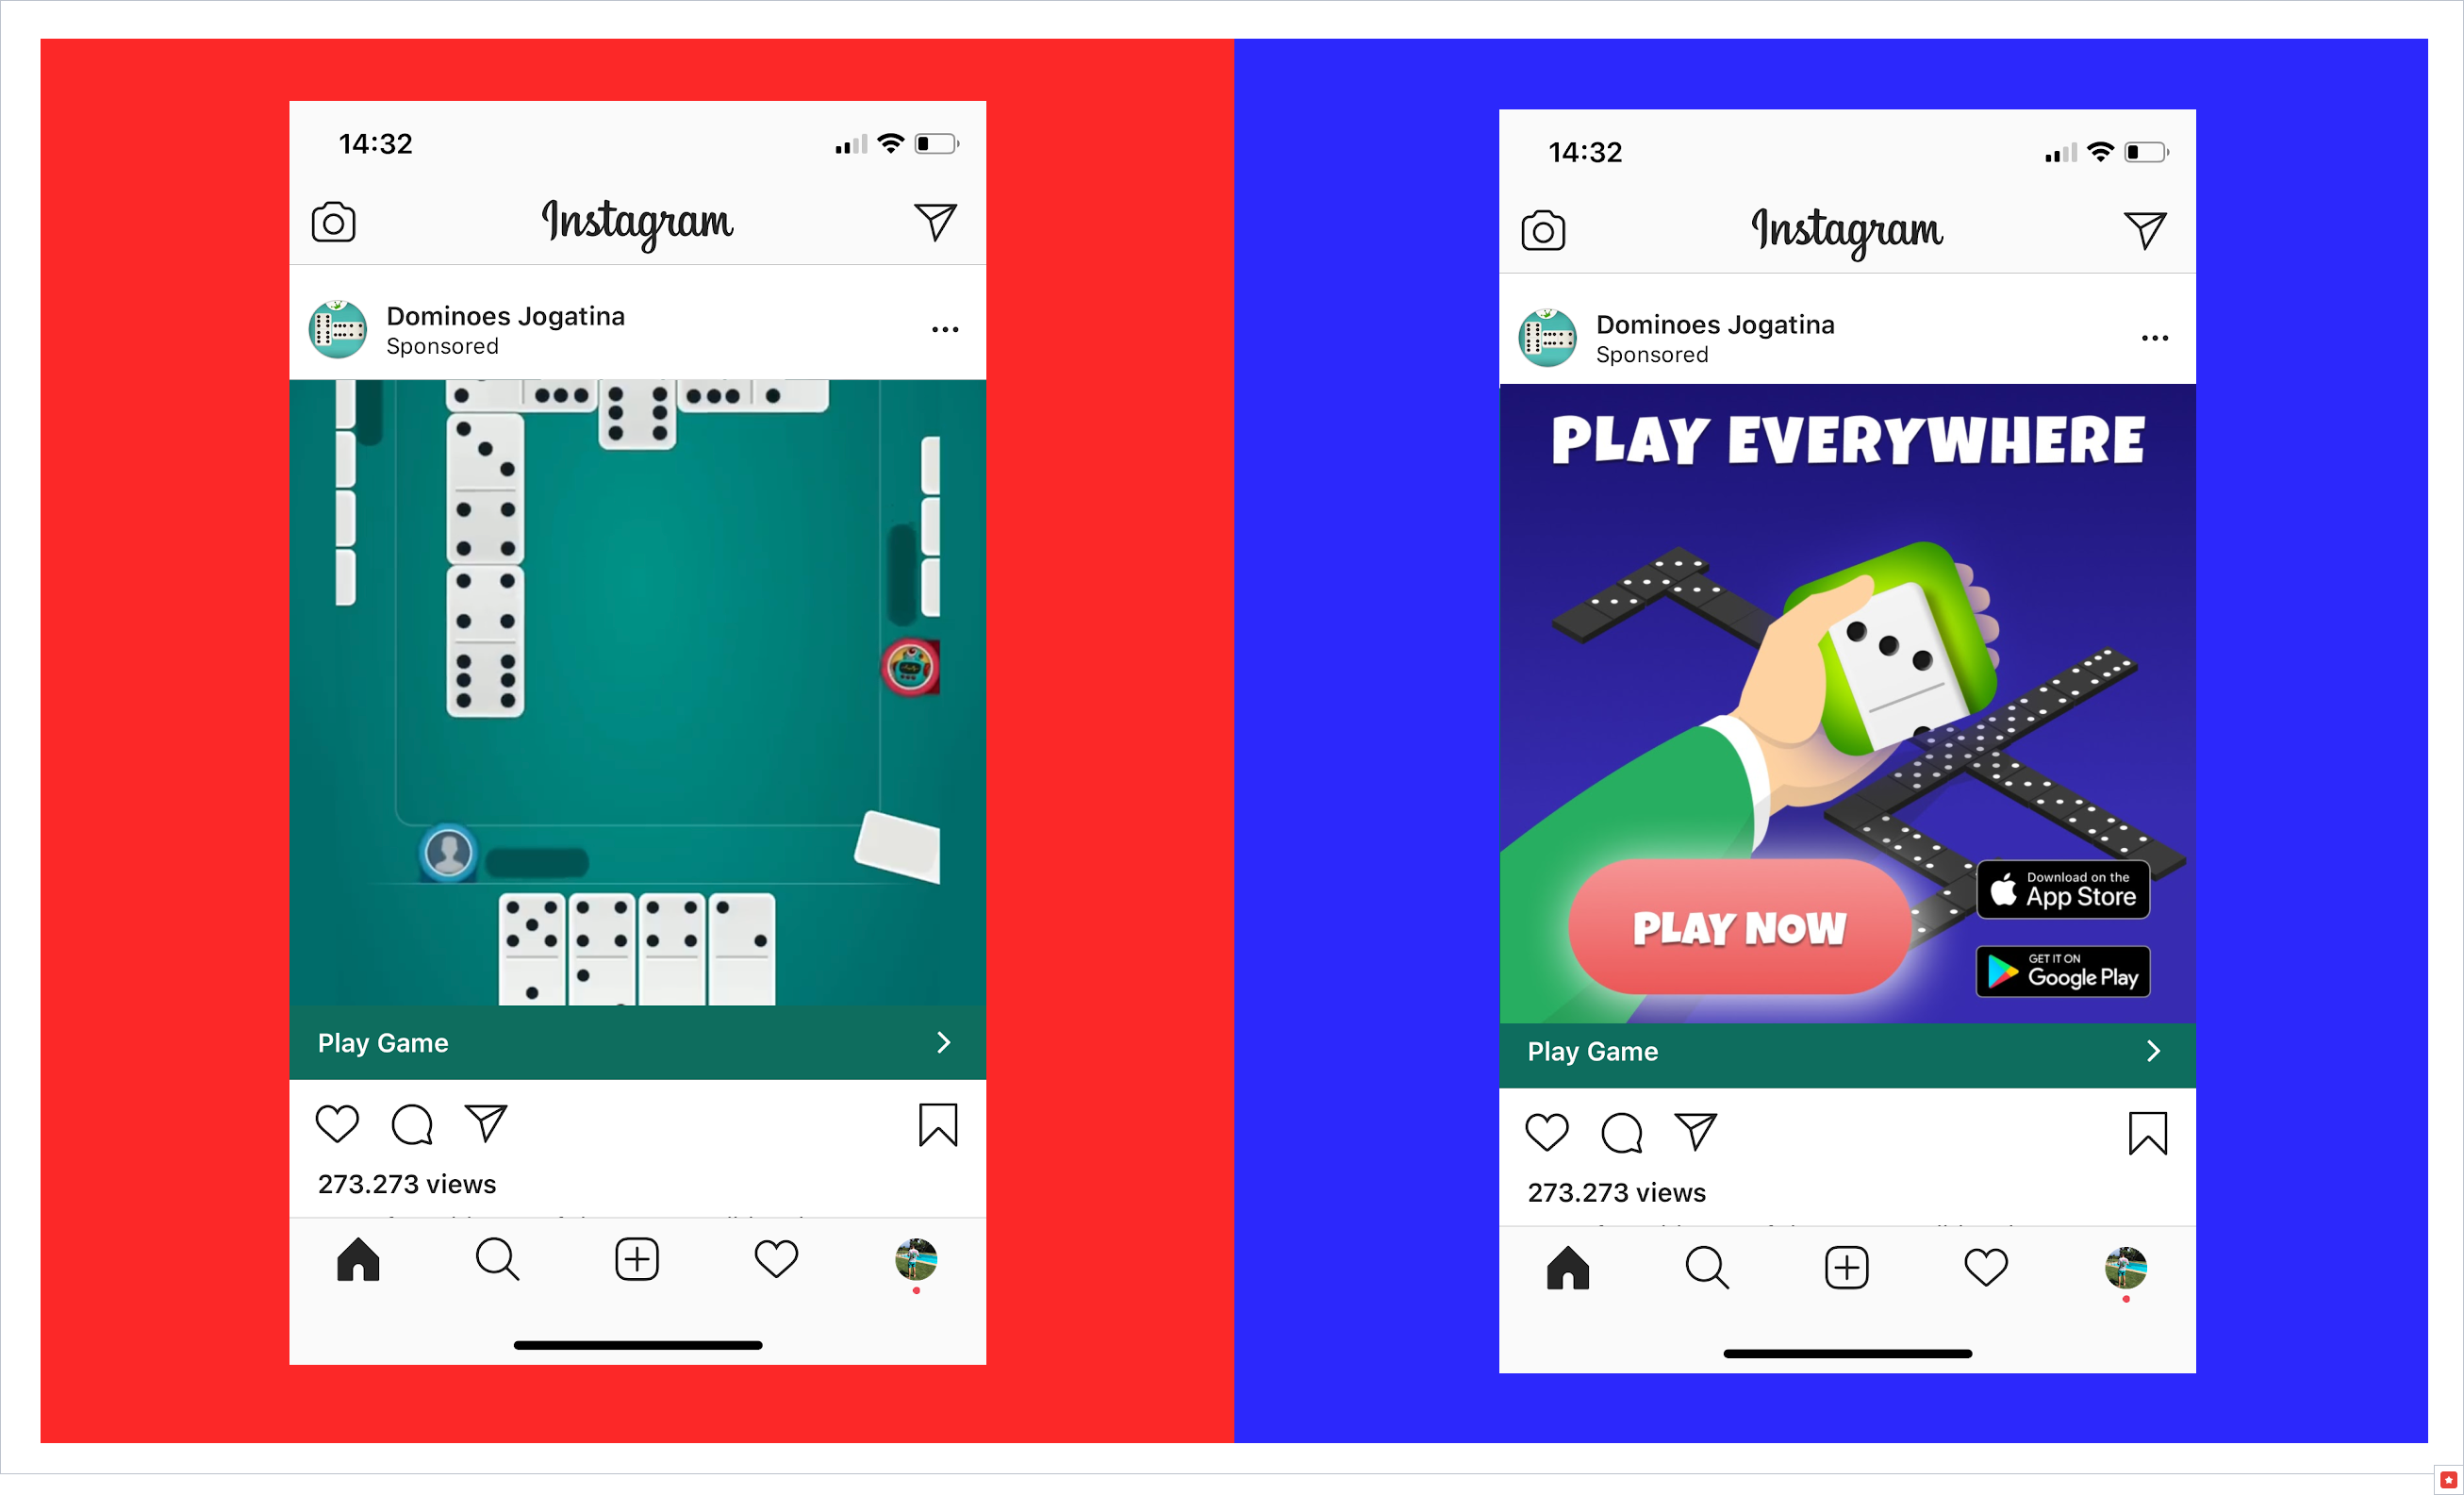
| Instagram/Meta feed |
|---|
 |
| Video: H.264 compression Fixed frame rate Stereo AAC audio compression at 128 kbps+ 1080 x 1350 Recommended length: 15–30s Video thumbnails should contain no more than 20% of text |
| Image: png/jpg 1080 x 1350 No more than 20% of text |
| The placement button (Learn more/Install now) is located at the bottom of the banner. It makes sense to use a CTA (call-to-action) that points to the button. |
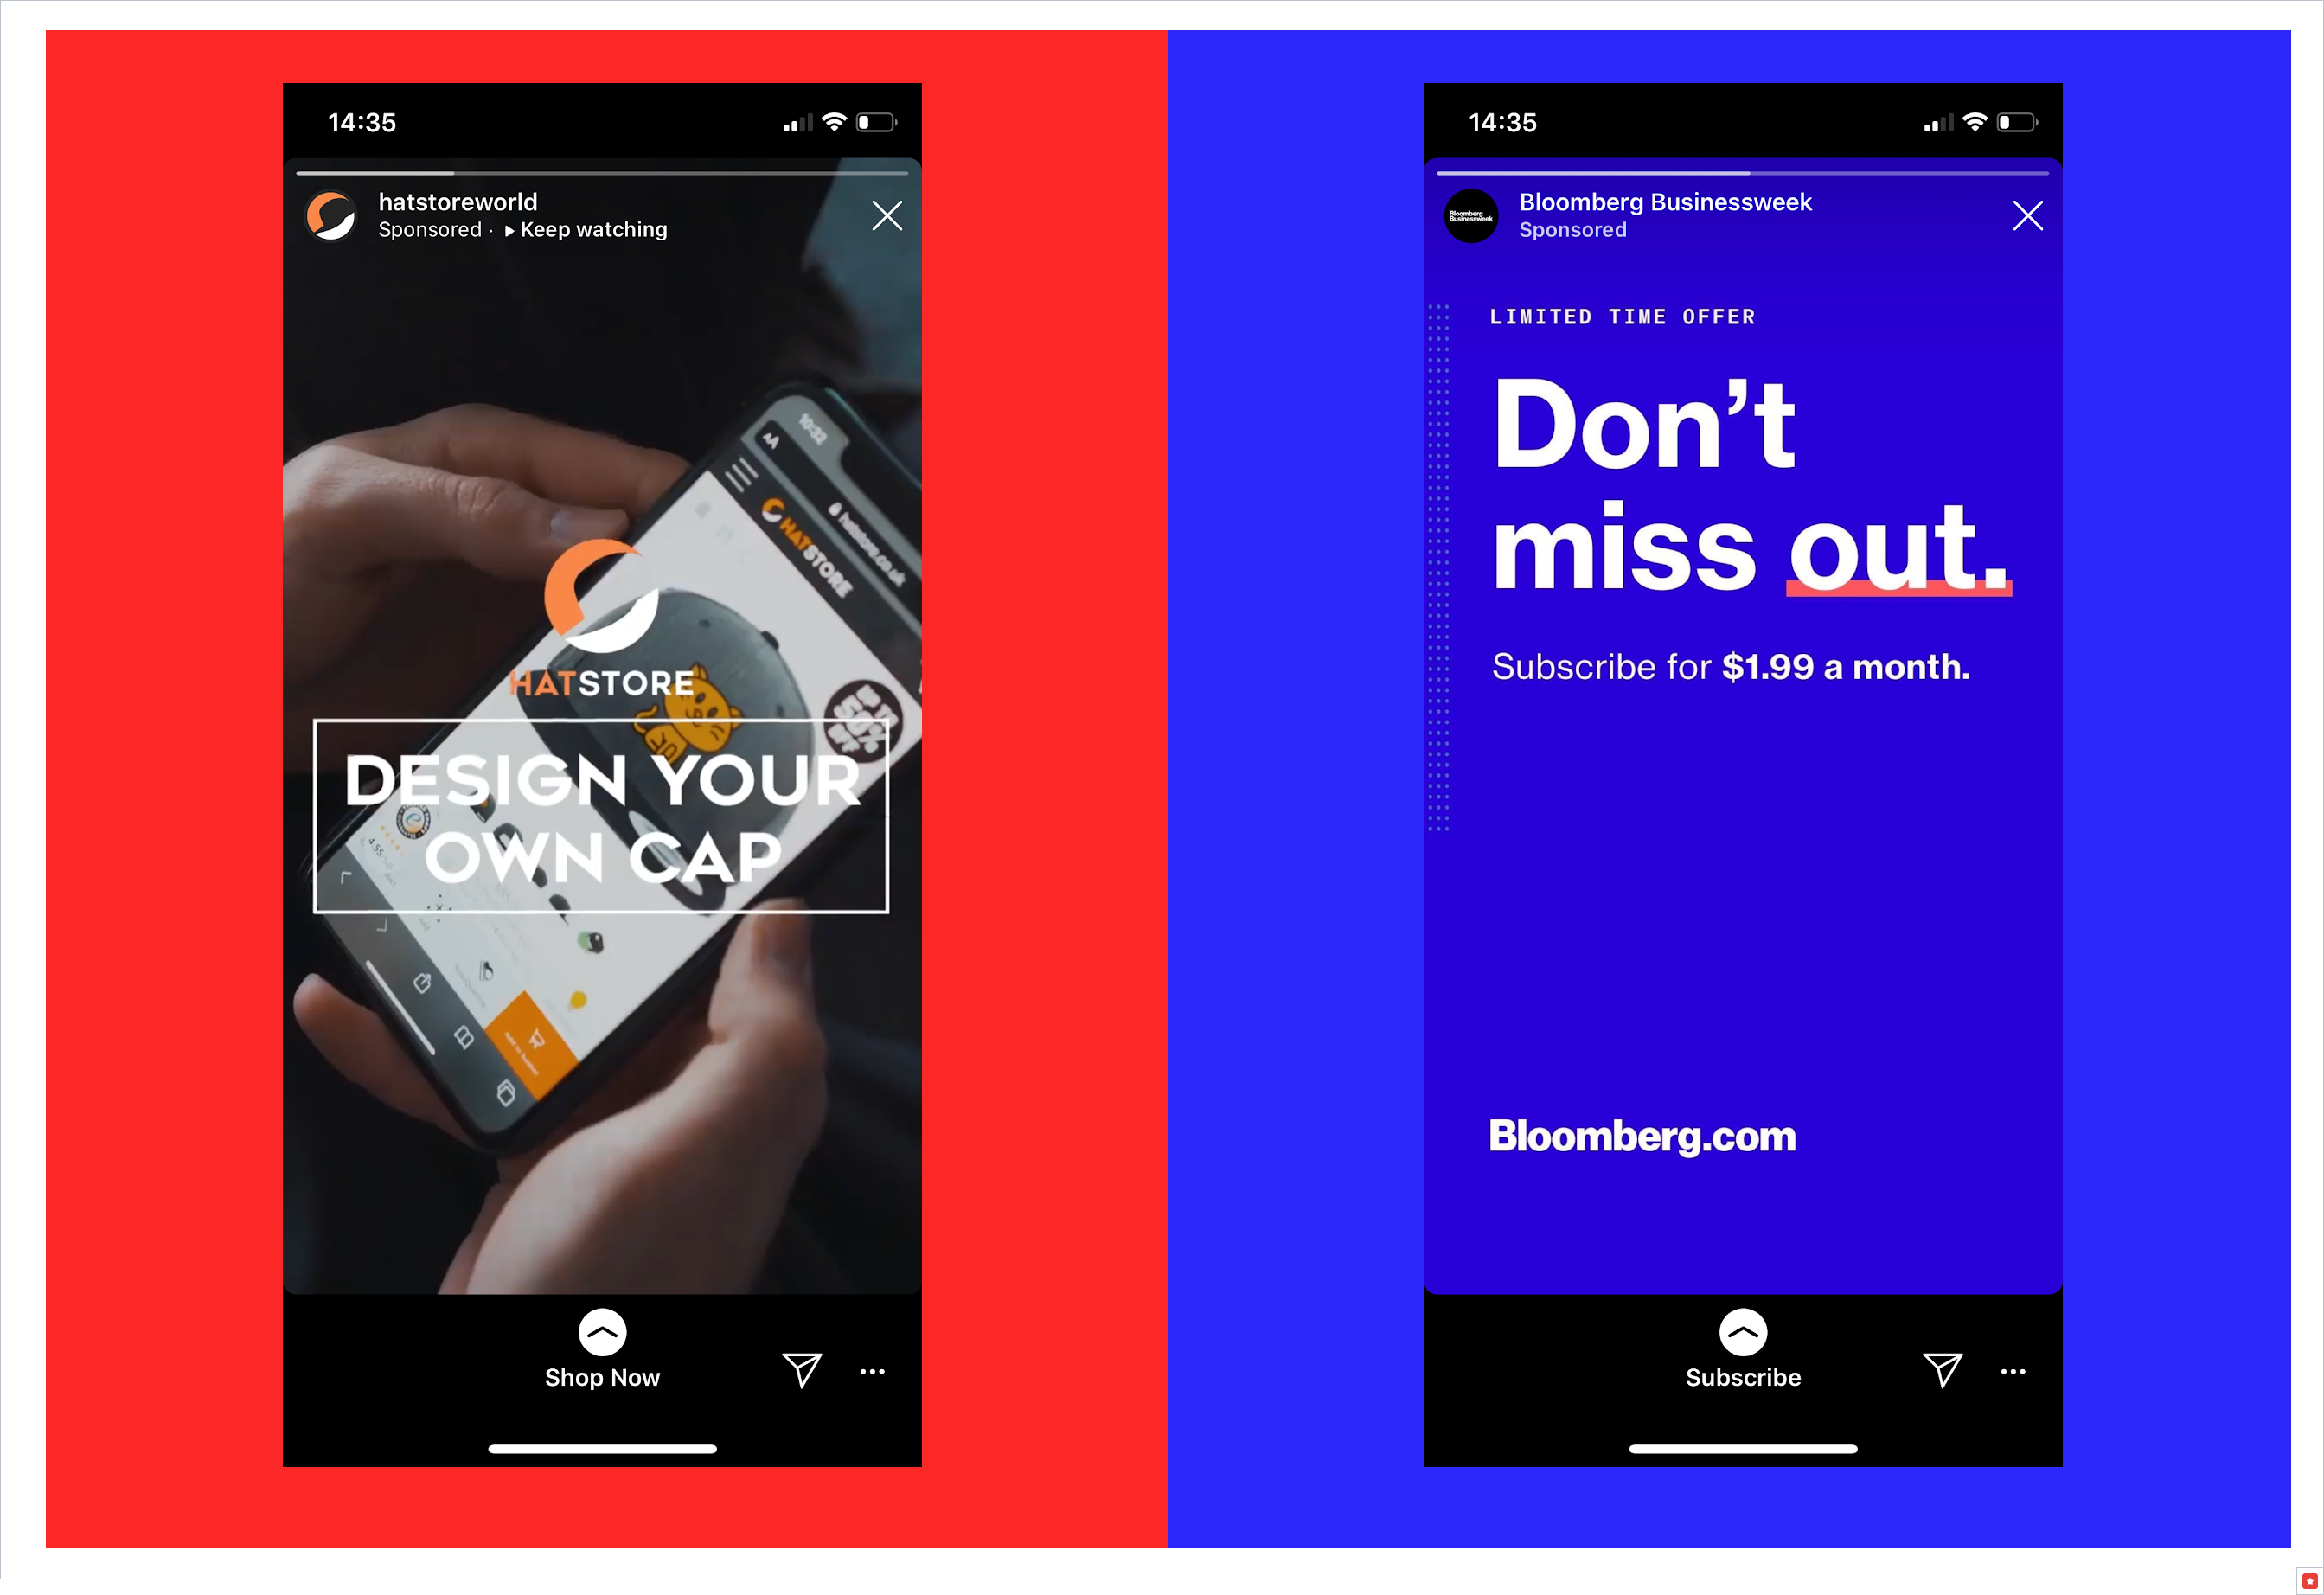
| Instagram/Meta stories |
|---|
 |
| Video: H.264 compression Fixed frame rate Stereo AAC audio compression at 128 kbps+ 1080 x 1920 Recommended length: 15–30s |
| Image: png/jpg 1080 x 1920 No more than 20% of text |
| This placement adds two elements to the banner— the logo and application name at the top and the swipe button at the bottom. Don’t place text/important elements at the top (150px). Show users that they should tap/swipe up the button (180px) at the bottom. |
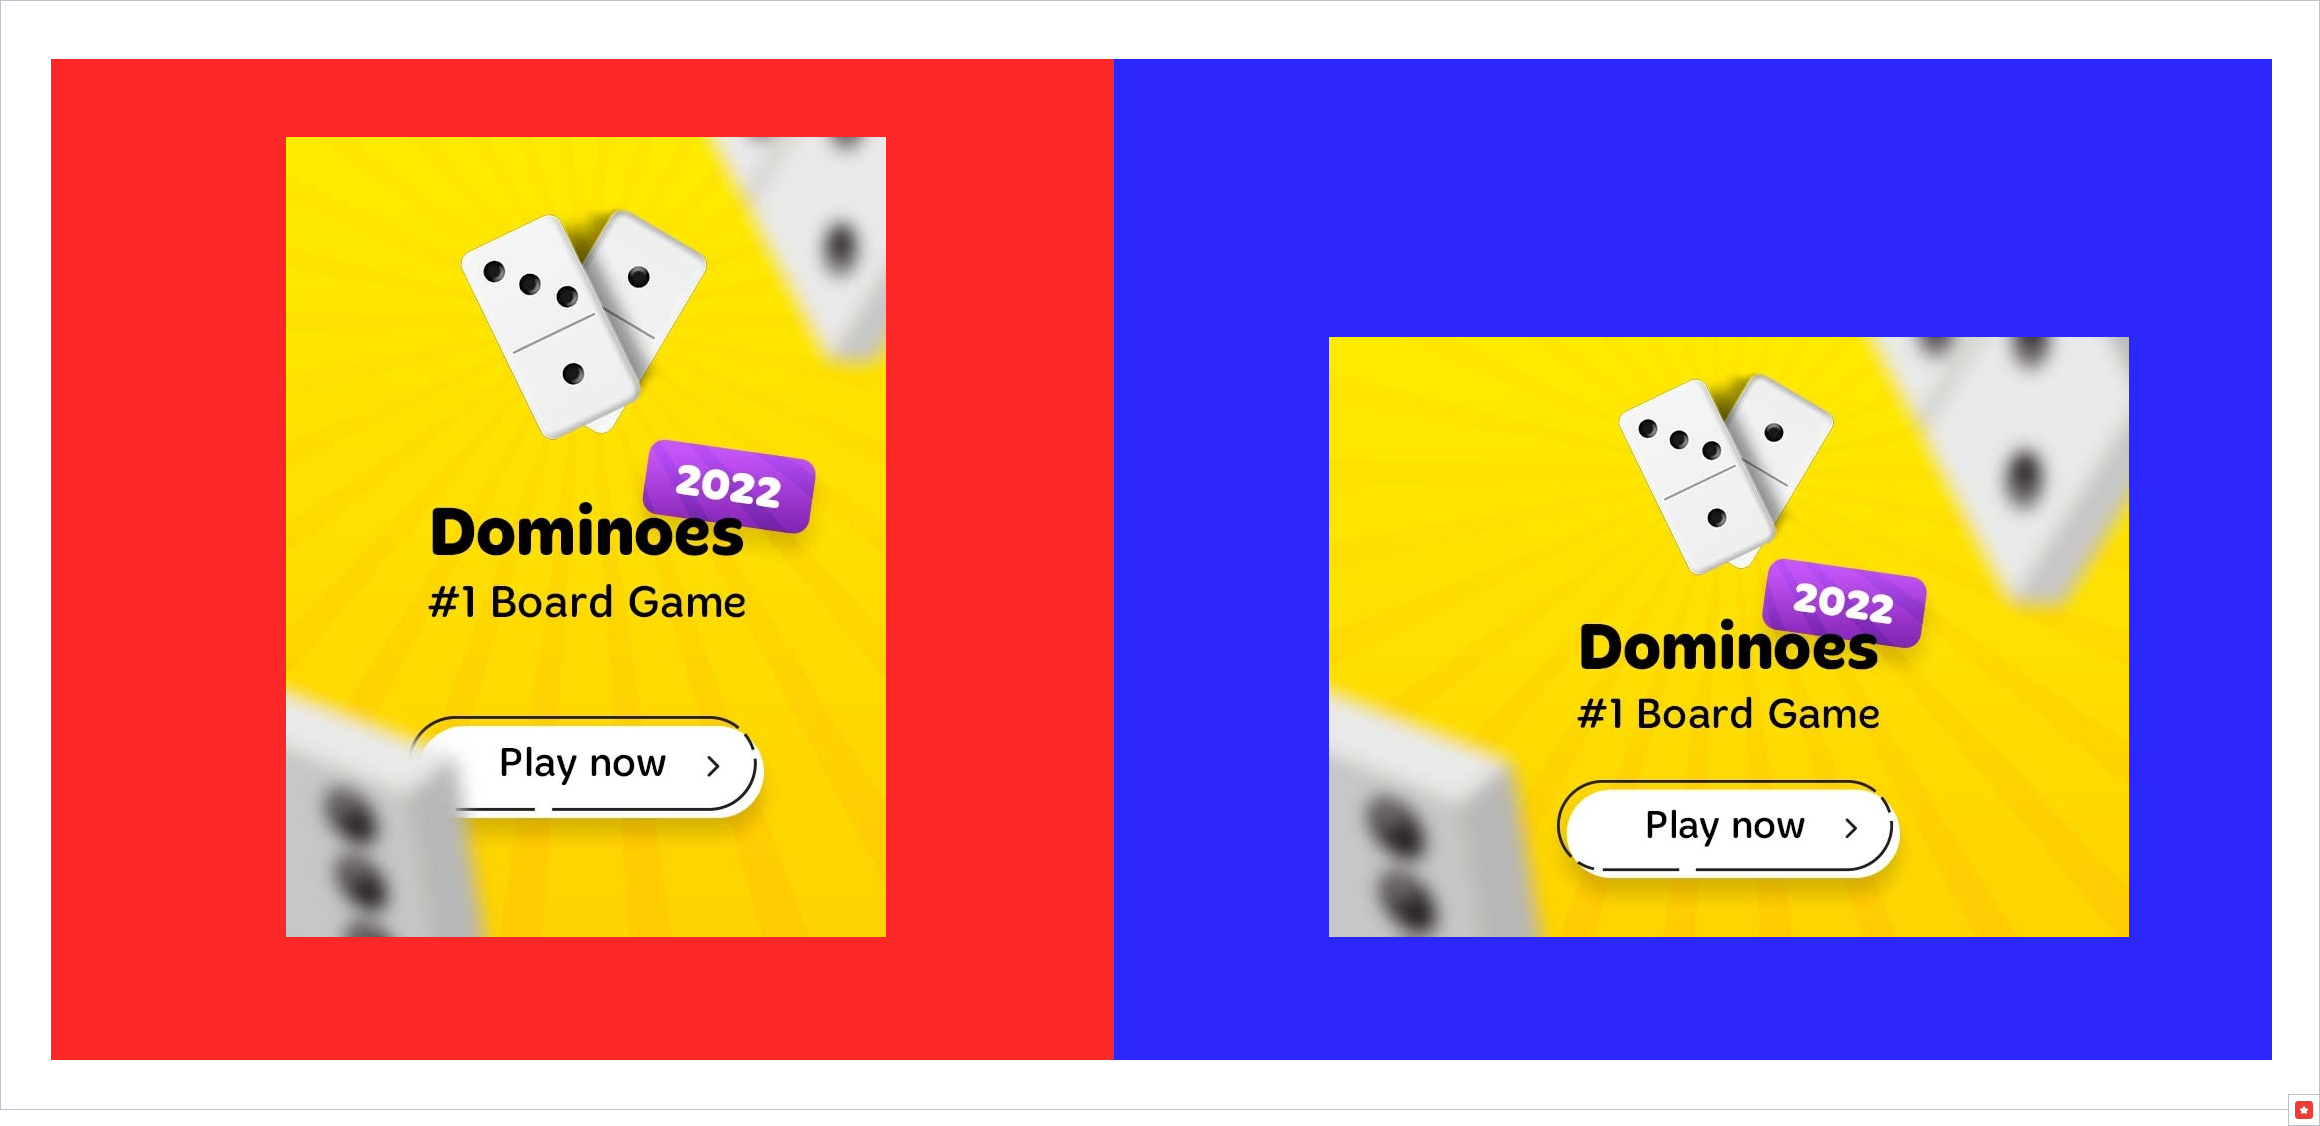
| Unity creatives |
|---|
 |
| Video: H. 264-encoded MP4 format Recommended file size is 10MB. Maximum file size is 100MB 1920 x 1080 px (16:9 pixel ratio) for landscape videos 1080 x 1920 px (9:16 pixel ratio) for portrait videos 30 seconds or less (but you can try videos up to 60 seconds long) |
| Image: png/jpg 600 x 800 and 800 х 600 |
How To Produce UA Creatives
Clipchamp
Create videos with Clipchamp (guide)
Guide to making video creatives with required format and resolution using a free online tool. Includes sample creatives. You can also use any other suitable tool.
Alternatively, you can use built-in MacOS/Windows software for the creation of video creatives.
Microsoft Photos App (Preinstalled, Free, Windows)
-
Grab your smartphone, start your app and record (with built-in iOS/Android app) around 1 minute of the app’s gameplay. It should be bold, bright, full of action, intriguing, and understandable.
-
Transfer the recorded video to your computer.
-
Open Microsoft Photos editor, press New Video, and add all video assets and packshots from your computer.
-
Setup video format to 9:16 portrait:
-
Cut the pre-recorded gameplay to show the best parts of the game. Don’t forget to make it clear and straightforward. For example, show several turns in a card game, ending with a win or bonus.
-
Make it at least 16 seconds long, but no longer than 30 seconds.
-
Combine the video timeline so it shows:
- Gameplay
- Win/lose moments
- Action moments
- Relaxing gameplay
- Call to action text (for example, “Try this new game!”)
- 1920 px height packshot at the end (see for details)
-
Add music that fits your gameplay style. Don’t use your personal audio collection to keep author’s rights. Try free YouTube music library or use Envato Elements.
-
Explore the possibilities with filters and 3D effects.
-
Finish video and export it to your computer.
-
Save your file. Delete 1920 px packshot from the timeline and add 1350 px variation of the packshot to the end.
-
Finish this video too and export it to your computer.
-
Use this free online tool to resize your 9:16 (1080x1920) video file to 1080x1350 appropriate Meta size.
You may want to delete watermarks with paid account.
iMovie (Mac, Free)
-
The first step is to download iMovie onto your Mac.
-
Grab your smartphone, start your app and record (with built-in iOS/Android app) around 1 minute of the app’s gameplay. It should be bold, bright, full of action, intriguing, and understandable.
-
Transfer the recorded video to your computer.
-
Then, create a new project in iMovie and upload your gameplay video, packshot, and music.
-
Now you can make your edits, whether that’s adding titles, backgrounds, transitions, or anything else!
-
Cut the pre-recorded gameplay to show the best parts of the game. Don’t forget to make it clear and straightforward. For example, show several turns in card game, ending with a win or bonus.
-
Combine the video timeline so it shows:
- Gameplay
- Win/lose moments
- Action moments
- Relaxing gameplay
- Call to action text (for example, “Try this new game!”)
- Packshot at the end (see tutorial for details)
-
Make it at least 16 seconds long, but no longer than 30 seconds.
-
Add music that fits your gameplay style. Don’t use your personal audio collection to keep author’s rights. Try free YouTube music library or use Envato Elements.
-
You then have to rotate your clip (gameplay and packshot) 90 degrees so that it’s horizontal (otherwise, iMovie will add black borders to the sides of your video). To do this, click the crop button and then rotate either left or right.
-
Once you’re done editing your clip, click the export button in the top-right corner of the screen, and save as a file.
-
Now open the video in QuickTime, click Edit in the menu bar at the top of your screen, and then rotate either left or right so your video is vertical once again.
- Finally upload your vertical video to free compressor and choose output: MP4, then Convert Now. It’s a crucial small final step as Facebook asks for MP4 files only.
- Now come back to your iMovie project and replace the packshot with the special 1350px version. Click the export button in the top-right corner of the screen, and save as a file with 1350 suffix name.
- Open this new video in QuickTime, click Edit in the menu bar at the top of your screen, and then rotate either left or right so your video is vertical once again.
-
Use this free online tool to resize your 9:16 (1080x1920) video file to 1080x1350 and MP4 file format to get appropriate Facebook file.
-
As result you will have 2 sizes of creative: 1080x1920 and 1080x1350.
You may want to delete watermarks with paid account.
Satic Creatives
For static creatives creation please use this guide.
Finding Creative Ideas
If you need ideas for your ad creatives, you can explore the Meta Ad Library.
To use the Meta Ad Library, first click on “All Ads.” Then enter an app’s name of your game category to find ads for this app:
Where To Find Creative Assets
- Stock video, video templates
- Music, sound effects
- Graphic templates, illustrations
- Presentation templates
- Photos
- Fonts
Members get unlimited downloads.
Packshot Creation
Packshot is a vital part of your creative as it pushes the user to take an action. Packshot should consists of:
- Contrast solid background
- Game icon
- Game name
- Button (“Try for free”, “Download now” etc.)
- App store icons (App Store and Google Play)
We suggest using the free software Figma to prepare static image of the packshot that you will add as an asset to your video. It’s a cross-platform browser-based easy-to-use solution.
-
Press + to add new file, Add new frame, edit its size to 1080 width 1920 height.
-
Add background color to the frame in accordance with your game’s color palette.
-
Drag-n-drop your app icon from the computer to the frame. Resize it.
-
Add text layer to create game’s name and optional tagline.
-
Draw a rounded rectangle add some shadows so it will look like a button. Optionally you can use your game assets for that.
-
Add text layer with button text.
-
Add app store logotypes (free to download from the web).
-
Export the frame to PNG/JPG format.
-
Copy-paste your packshot and recombine content so it will fit 1350px height.
-
Export this frame too to PNG/JPG format.
Now you have two or more static packshots that you can use in video editor.